Using, Creating, And Editing HTML Templates Follow
This document will guide you through using, creating, and editing HTML templates in Printer's Plan instead of using the default text templates.
HTML templates are a new feature of Printer's Plan and help improve the SMTP email functionality in Printer's Plan. This guide assumes you are using Printer's Plan to send emails instead of sending it to Outlook or Thunderbird. These HTML templates will not send to 3rd party email clients properly.
Creating and Editing Templates
Creating new HTML templates from scratch requires either a 'WYSIWYG' editor (What You See Is What You Get) that can be found online or knowledge of how HTML is written.
WYSIWYG Editor URL: https://html-online.com/editor/ OR https://html5-editor.net/
In the Printer's Plan directory on your local network, there is an Email folder containing all of the HTML and plain text templates that Printer's Plan uses. For editing these files we recommend Notepad++ for it's features for enhancing readability when editing.
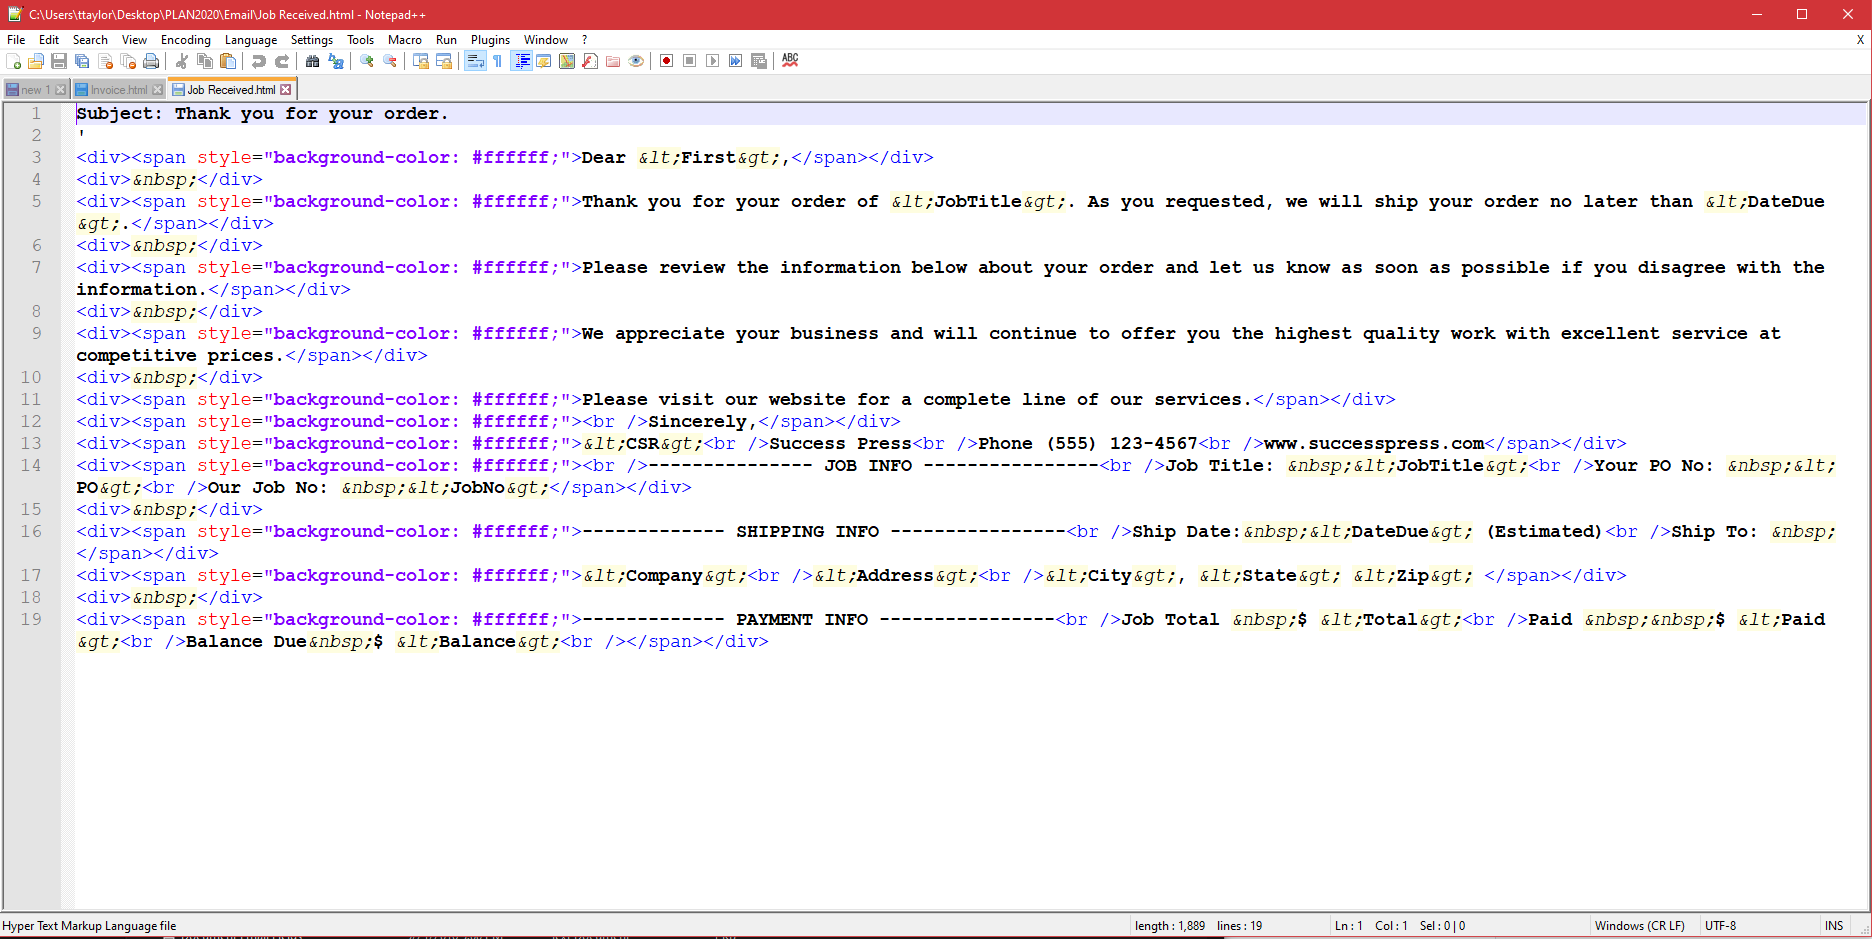
Notepad++ colors the HTML language to more easily separate the code from the display text. If making simple adjustments to the text on display, this is a quick and easy method. If your intention is to design a template from scratch then you may want to use the WYSIWYG URL above.
This will allow you to enter what you want to display and then the HTML code will update as you make adjustments.
To understand what variables you can use we in your email have an article that explains this. Review the "Available Email Template Fields" article to learn more.
NOTE: Make sure to remove any HTML tags from your subject. The first line should not have any <p> tags. It should resemble how it normally does in the file/document.
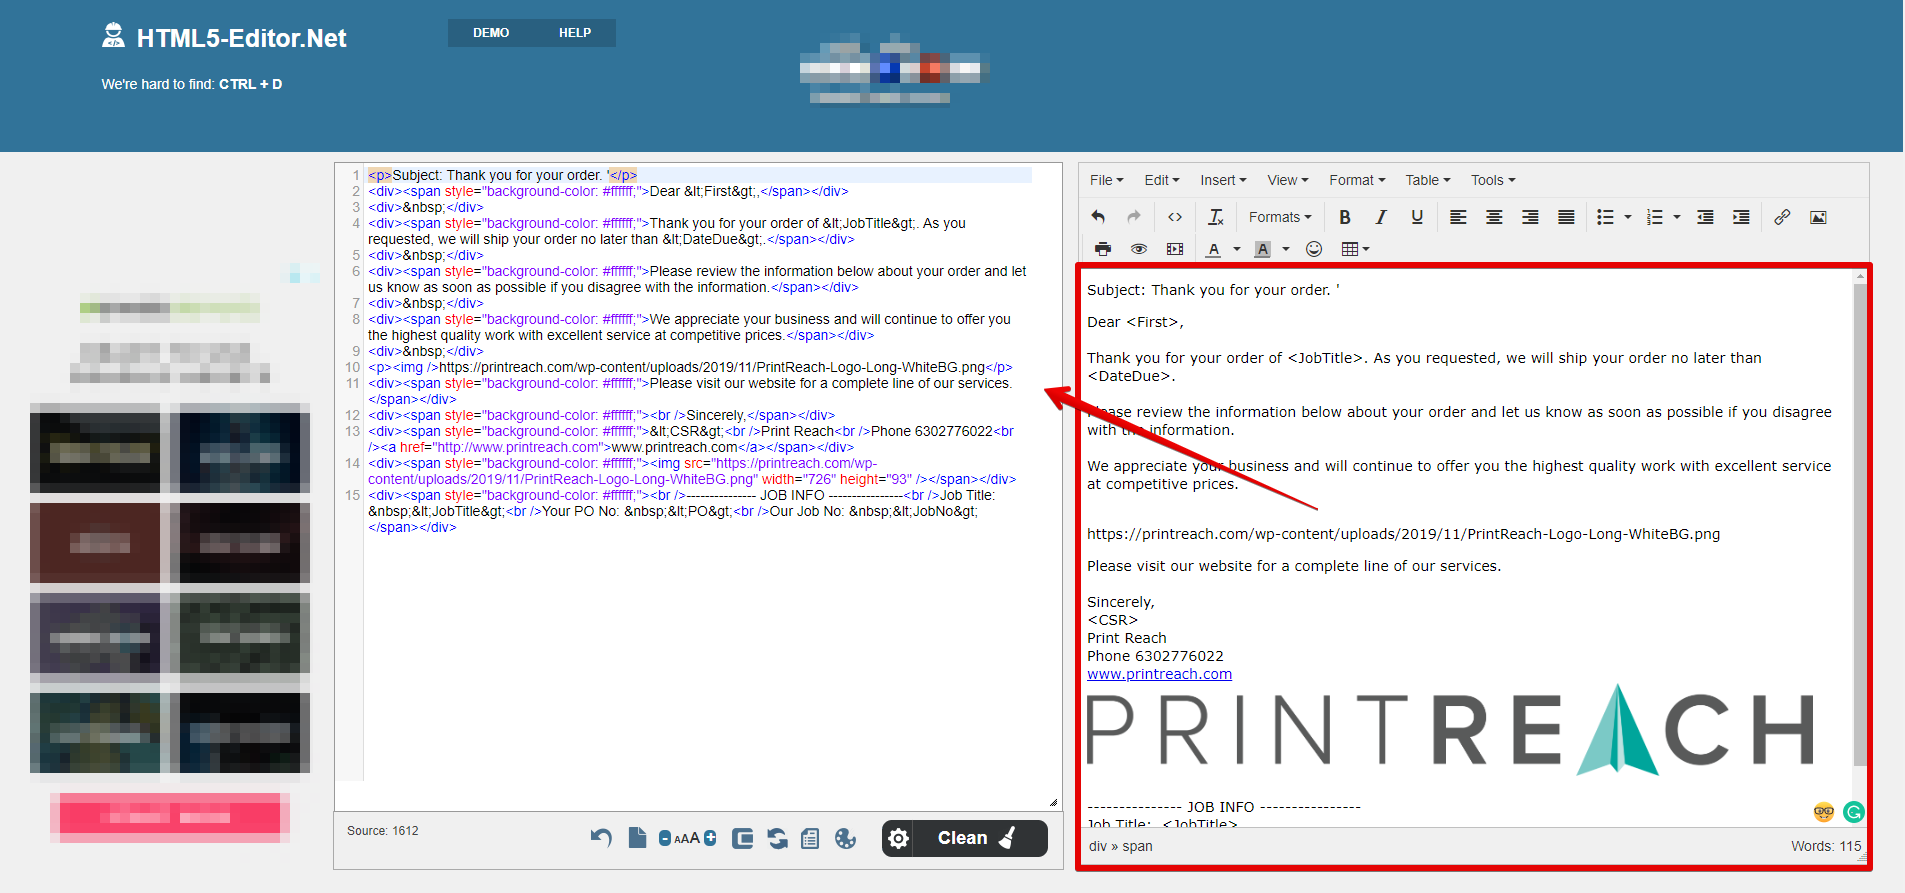
In this image, I have added text with Printer's Plan compatible variables to pull the appropriate text from the job information just like the plain text email templates already do. I also have a link to a website included and a company banner in the signature.
Adding images requires the image to be web-hosted with the link being referenced once pasted into the WYSIWYG editor. This can be an image file pulled from your website or hosted on a 3rd party image hosting platform such as Imgur.
Right-click on the image to copy the image and paste it into the editor. The URL will be referenced automatically.
Once the template is formatted save the template as an HTML file type. You may need to copy the HTML text into Notepad++ and save it there. Once you click 'Save' you will be prompted with a selection of where to save the file and what file type you wish to save as.
In the image below the file type is listed as 'Hyper Text Markup Language file'.
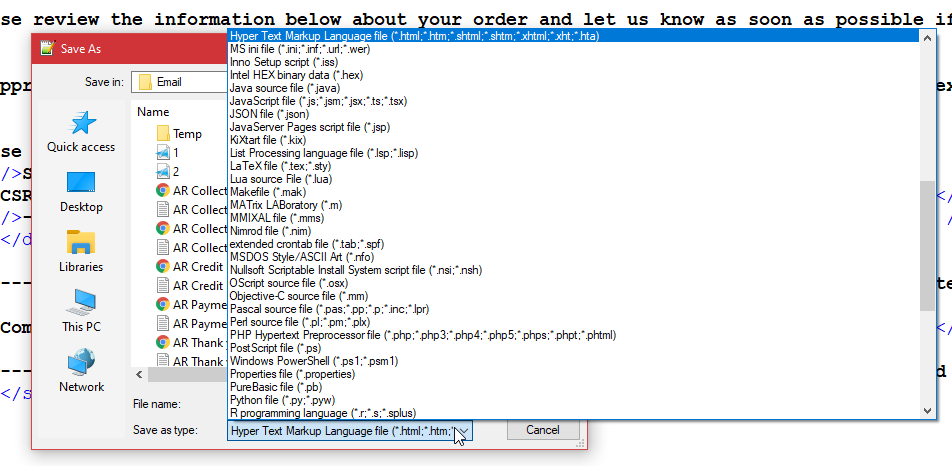
Save in the location of your Email templates.
Using HTML Email Templates
By default Printer's Plan uses the HTML template if there is one that exists for the purpose needed. If you want to use an HTML template for the purpose of sending invoices, all that is needed is to create a template labeled 'Invoice'.
Printer's Plan doesn't have an invoice template by default because it may have caused unintended formatting issues if users have a text template they prefer.
I have created and attached to this article an invoice template for download and use in Printer's Plan. It contains all of the basic text that the plain text template contains by default. Please follow the guidelines above to update it as needed.
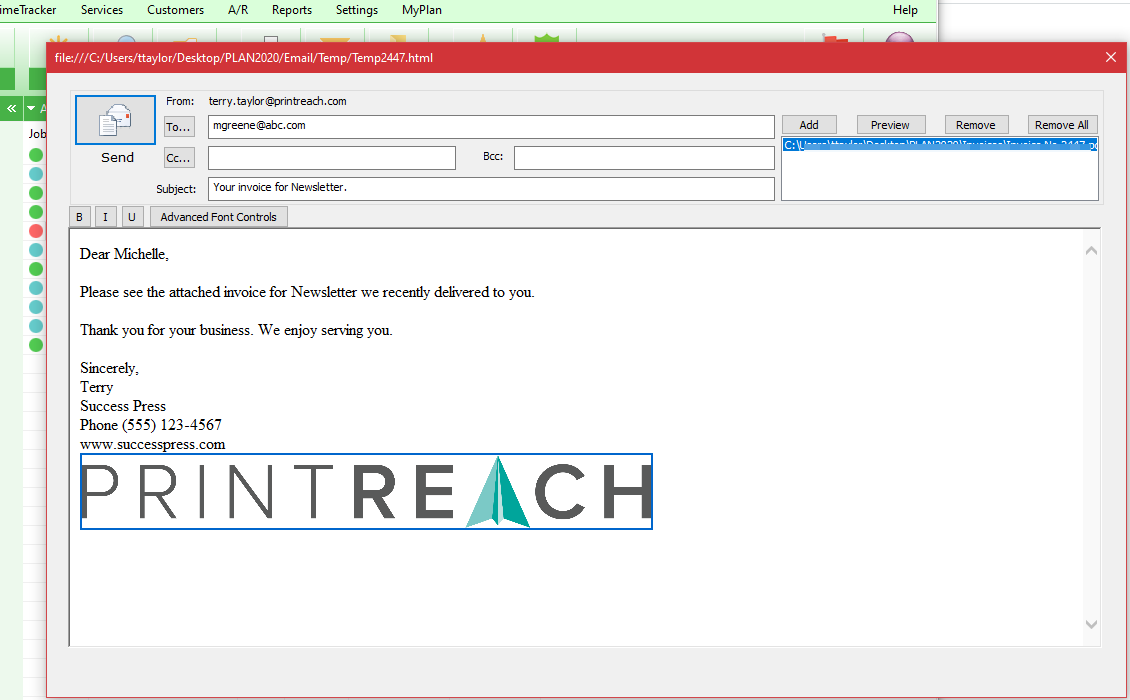
By default the template displays like this: